- Plain or "Platform" Pedals (figure 1).
- Pedals with "toe clips" (figure 3).
- Clip-less Pedals (figures 4a–4c).
 |
| Figure 1: Platform pedals |
Pedals are affixed to a crank on either side of the bike, each arm 180º from the other. The pedals are attached to the crank by a variable length arm; length determined by bike size, rider size and proportions, and type of crank installed. If you ever have a bike fit, the fitter may well replace the crank arms with longer or shorter arms to accommodate your particular mechanics (that will likely require a whole new crank, by the way, because the crank is usually built in to the front chain ring). (Figure 2.)
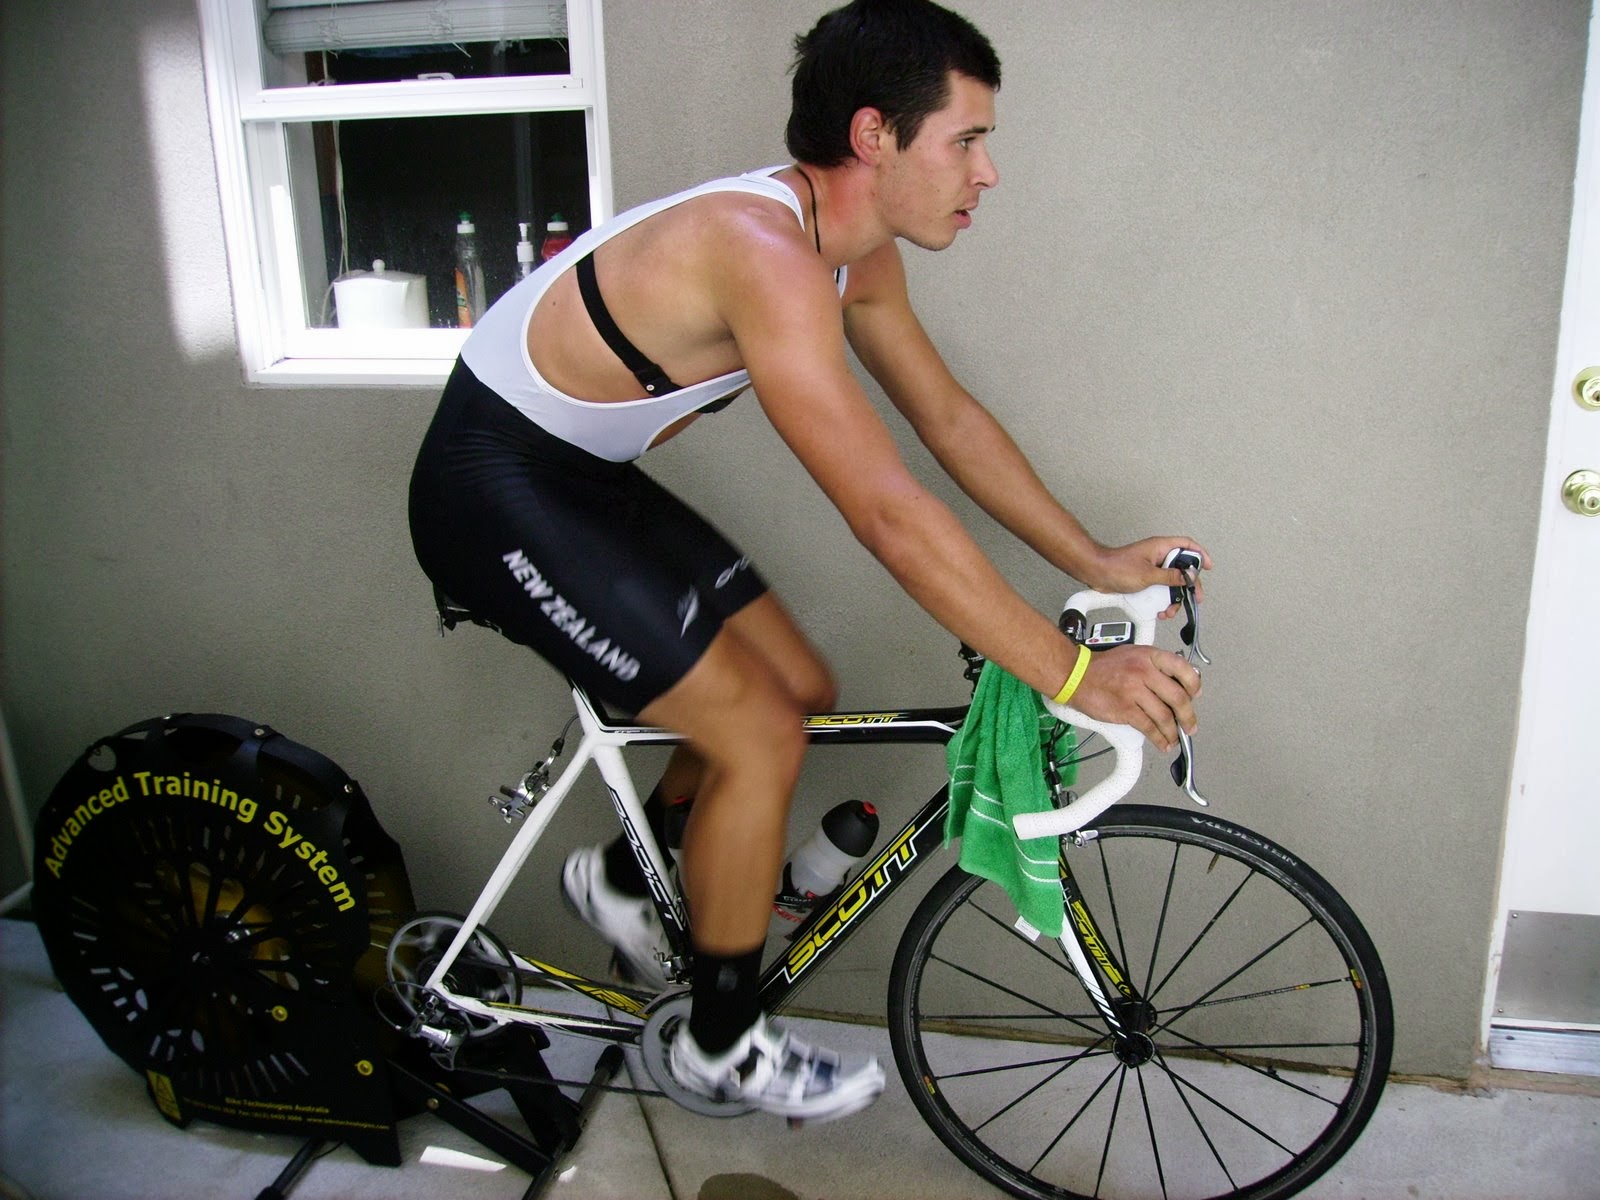
The pedals are one of three basic interfaces you have with your bike: the handlebars (for stability and control), the saddle (for your butt, but also for stability and control), and the pedals (for power, stability, and also for control). As you can see, all three interfaces provide control over the bike. As the Absolute Beginners series continues, I'll describe how bicycle steering is generated from the pedals and saddle as much as or more than the handlebars.
To generate power and to keep the bike upright, the rider must keep the chainring moving with the chain engaged, thus powering the rear wheel. The rider generates this power by turning the crank by means of the crank arm. In turn, the crank arm is moved by pressure on the pedals with the feet.
And the primary difference between the pedal types is the efficiency with which you move the crank arm by means of your foot: the more affixed your foot is to the pedal, the more power you get for your effort.
 |
| Figure 2: Parts of a crank. Image Credit. Click to enlarge. |
1. Platform Pedals
When you first purchase your bike, its likely to be equipped with plain pedals. A rider uses platform pedals the old fashioned way: you simply place the balls of your feet on the top of the pedal and push down with the upper foot, allowing the lower foot to rise with the motion of the crank arm.
Plain pedals represent a low-end in a progression of efficiency. When you cycle with only plain pedals, you get power only when your foot is pressing down on the pedal, not during any other part of the stroke. So any effort made to move your other foot (back and forth and up in the circle representing one bicycle pedal stroke) does not go into your forward momentum.
2. Pedals with Toe Clips
"Toe clips" are cages which affix to the pedal. Special pedals are usually required to install the toe clips.
 |
| Figure 3: Toe clips. Image Credit. |
Pedals with toe clips represent a step up in the progression of efficiency. They provide two main purposes: first, they position your foot roughly in the best position (ball of foot over the pedal), and second, they affix your foot more firmly to the pedal. Thus, you get power from pushing down on the pedal, pulling up on the pedal, and from the forward motion of your foot in the pedal stroke. So, with toe clips, you'll get power on 3/4 of the pedal stroke over the 1/4 with platform pedals only.
Reason tells us that if you pull your foot back during the pedal stroke, you'll pull out of the clip. Usually, your shoes will have some kind of ridges which will keep your foot on the pedal when you pull back. This final 1/4 of the pedal stroke will not provide as good an adherence to the pedal as the other 3/4. Still, this is light years better than the pedal alone.
Toe-clip pedals have several drawbacks. They are heavier than "clipless" pedals. They provide for a LOT of foot movement during the pedal stroke, decreasing efficiency. They are cumbersome to operate. They are harder to get into and out of than "clipless" pedals. And, believe it or not, they are more dangerous to operate than clipless pedals.
If you chose toe clips, remember: you cannot safely ride with your foot on the non-toeclip side! The toe clip may catch on road debris or surface features, and may cause you to crash.
3. Clipless Pedals
Yes, even though you "clip into" them and "clip out" of them, these babies are "clipless." That is because they do away with the toe clips. And these are the most efficient pedals for cycling. Your foot is fully affixed to the pedal, so you are most likely to get full efficiency out of each pedal stroke.
Here are some different types. SPD offer a smaller interface with your shoe, and are often used for mountain biking. SPD SL offers an easier clip along with a nylon cleat and are often used for road biking:
Here are some different types. SPD offer a smaller interface with your shoe, and are often used for mountain biking. SPD SL offers an easier clip along with a nylon cleat and are often used for road biking:
 |
| Figure 4a: Shimano SPD Clipless Pedals. Image credit. |
 |
| Figure 4b: Shimano SPD SL Pedals and Road Bike Shoes. Image credit. |
 |
| Figure 4c: Shimano SPD SL Cleats. Image credit. |
I can't deny it, clipless pedals are intimidating. But they are also awesome. When you get them dialed-in, you and your bike become one. You are the bike. With clipless pedals comes the maximum possible efficiency. You can get power from 100% of the pedal stroke. And you can feel the difference.
Thus, you will see very few road cyclists riding with anything but clipless pedals. As you progress, you'll want to upgrade to clipless pedals for sure. In fact, most dedicated riders will skip toe clips entirely and jump right to clipless pedals.
Once you decide to take the plunge, there are many manufacturers looking for your business: Shimano, Look, Crank Bros, and Speed Play are all more-or-less common brands. Which you choose is a matter of personal choice. Ask other cyclists which they prefer — you will often find near religious adherence to a brand. Here's a useful buying guide.
You need to practice with these. Ask your sales person or training ride leader to demonstrate how to clip in and clip out. You usually get in by aligning the cleat to the edge of the pedal and pressing with the ball of your foot. You usually get out by twisting your foot and stepping off the pedal. Here's a useful video. You can search YouTube for many other similar videos.
This was a lot of information about a seemingly innocuous part of your bike. But pedals are very important and worth the time thinking about them.
Your Bear
By the way: Over the next couple months, I'm going to write a few articles with the lead-in title "Absolute Beginners," explaining some of the basic principles of cycling. Most of the information is stuff I've learned from other cyclists, bike shop mechanics, classes I've taken, and Google searches. Please help me out and comment with corrections, additions, or supplements which will help my readers learn about how to operate their bikes!